Seal Roofing Nail After Installing Shingle

Fix Small Holes Tiny Holes In Shingles Are Sneaky Because They Can Cause Rot And Other Damage For Years Before You Notice Leaking Roof Roof Repair Roof Patch

Engineered Diy Liquid Roof Paint Coating Sealer Sealant Roof Leak Repair Roof Roof Leak Repair Roof Paint Leaking Roof

Bead Of Tar Used For Installing Zinc Strip To Prevent Mildew And Algae On Roof Shingles Ridge Cap Roofing Diy Galvanized Roofing

How To Finish The Top Edge Of A Shed Roof In 2020 Shed Shed Roof Architectural Shingles
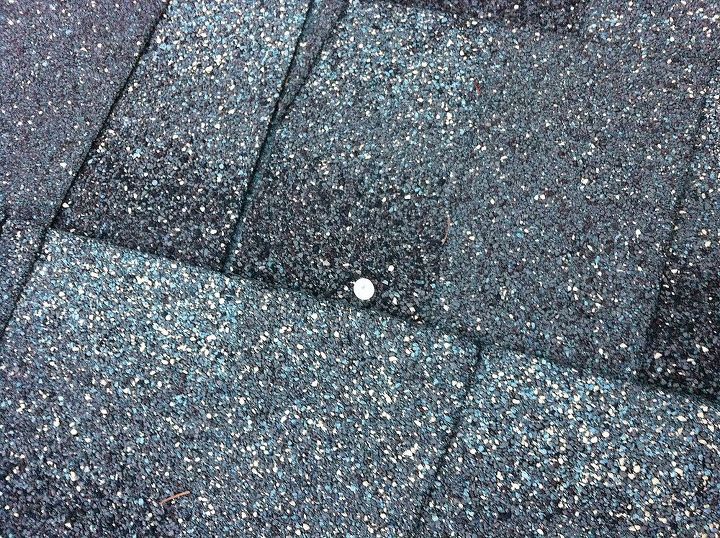
Should I Worry About Exposed Nail Heads On Roof Hometalk

Details That Matter On Asphalt Shingle Roofs Roof Installation Roof Shingles Fibreglass Roof

Although the sealant when fully activated does a good job of sealing the shingles together it is possible to carefully separate the bond with a flat bar.
Seal roofing nail after installing shingle.

Installing Ridge Cap Shingles At Ends Of Roof Peak Before Putting Vented Ridge In Place Ridge Vent Roof Installation Roof

How To Shingle A Shed With 3 Tab And Architectural Shingles Shed Roof Replace Roof Shingles Installing Roof Shingles

How To Finish The Top Edge Of A Shed Roof Shed Roof Roof Vertical Siding

How To Shingle A Roof Ridge Cap Shingles Top Row Layout Details Preventing Moss And Fungus On Roof Shingling Roof Shingles Roof Installation
Source : pinterest.com
